Warning: Doing this wrong could cause damage to your operating system. We assume that you already know how to use the Terminal and are comfortable in executing commands from there. You may also need to install Xcode Command Line Tools before starting the procedure below.
Update (2026): This guide is from 2020 and the macOS tooling has changed. "FUSE for macOS" is now macFUSE, and ntfs-3g was removed from Homebrew core (Homebrew disabled all FUSE-dependent formulae) — so it's now installed from a community tap, as shown below. On Apple Silicon Macs, macFUSE installs a kernel extension you must approve in System Settings → Privacy & Security, which requires enabling reduced security from macOS Recovery and a reboot. If you'd rather not touch kernel extensions, a commercial driver such as Paragon or Tuxera NTFS — or simply reformatting the drive to exFAT (read/write on both macOS and Windows) — is a lower-friction alternative.
First, you will need macFUSE (formerly "FUSE for macOS" / osxfuse). Download and install the latest release from https://macfuse.github.io/, or install it with Homebrew: brew install --cask macfuse.
You will also need "Homebrew" package manager. If you don't have it yet, you may install it by following the instructions from https://brew.sh/.
- Install NTFS-3G using Homebrew on your Terminal. Since
ntfs-3gwas removed from Homebrew core, install it from the maintained community tap:
brew tap gromgit/fuse
brew install gromgit/fuse/ntfs-3g-mac- Connect your NTFS HDD to your computer (if external) and run the following command to list all your drives and their names:
diskutil listThe output looks something like this:
Take note of the partition name of your NTFS drive. In my case, it's /dev/disk6s1 (example only).
- Unmount your NTFS HDD and remount it as Read/Write enabled:
(replace /dev/disk6s1 with your actual NTFS partition) Note: you will need to enter your MacOS password to run the commands.
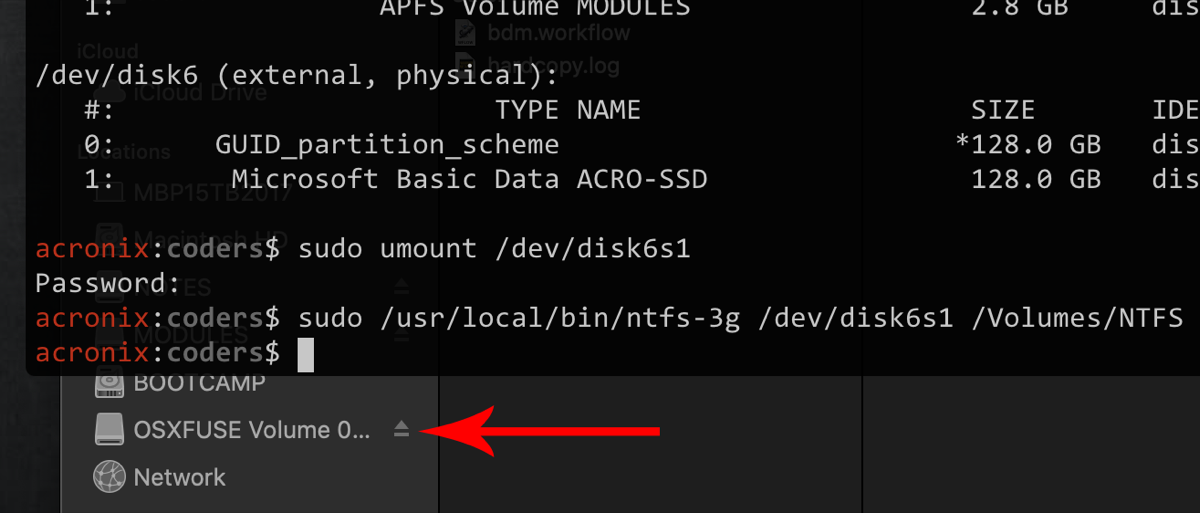
sudo umount /dev/disk6s1sudo ntfs-3g /dev/disk6s1 /Volumes/NTFS -olocal -oallow_other -o auto_xattrIt will now be mounted as Read and Write and looks like this:
Note that you will need to do this everytime you insert a new NTFS drive since the default behavior of MacOS is to always mount NTFS drives in read-only mode. We will post another tutorial in the future on how to auto-mount NTFS volumes in read-write mode.